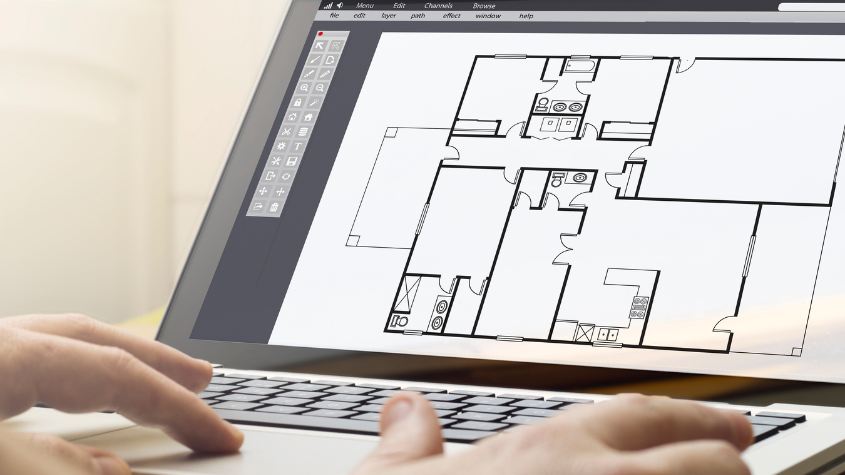
EXOFFSET in ACTCAD – Create Multiple Offsets
20-Jan-2025
EXOFFSET – Extended Offset in ACTCAD
The EXOFFSET command in ACTCAD provides advanced offsetting capabilities beyond the standard OFFSET command. It allows users to generate multiple parallel copies of selected objects in a single operation, with options to offset to one side or both sides. This is particularly useful in civil, architectural, and mechanical drafting workflows where repetitive parallel geometry is needed quickly and accurately.
Steps to Use EXOFFSET in ACTCAD:
Step 1: Launch the EXOFFSET Command
- Type EXOFFSET in the command bar → press Enter.

Step 2: Specify Offset Distance
- Click on the points in the drawing where you want the offset entity.
- Or type the numeric value for the distance between each offset copy.
- After specifying the offset distance, ACTCAD will prompt you to select the object.

Step 3: Create Number of Offsets
- After selecting the object, ACTCAD will prompt to create multiple offset entities from the selection.
- Select MULTIPLE option in the command line to create multiple offsets.

Step 4: Choose Side to Offset
- Click on the side (left, right, or both sides) where you want to place the offset entities through the command line prompt.
- The offsets are generated immediately without reselecting the object.
- You can now:
- Move or edit them like any other geometry.
- Assign them to layers.
- Apply additional formatting as needed.

Conclusion:
The EXOFFSET command in ACTCAD is an efficient tool to create multiple parallel copies with precise control. It streamlines repetitive drafting tasks, improves productivity, and ensures accuracy in complex designs.
Download: Click here to download
EXOFFSET – Extended Offset in ACTCAD
The EXOFFSET command in ACTCAD provides advanced offsetting capabilities beyond the standard OFFSET command. It allows users to generate multiple parallel copies of selected objects in a single operation, with options to offset to one side or both sides. This is particularly useful in civil, architectural, and mechanical drafting workflows where repetitive parallel geometry is needed quickly and accurately.
Steps to Use EXOFFSET in ACTCAD:
Step 1: Launch the EXOFFSET Command
- Type EXOFFSET in the command bar → press Enter.

Step 2: Specify Offset Distance
- Click on the points in the drawing where you want the offset entity.
- Or type the numeric value for the distance between each offset copy.
- After specifying the offset distance, ACTCAD will prompt you to select the object.

Step 3: Create Number of Offsets
- After selecting the object, ACTCAD will prompt to create multiple offset entities from the selection.
- Select MULTIPLE option in the command line to create multiple offsets.

Step 4: Choose Side to Offset
- Click on the side (left, right, or both sides) where you want to place the offset entities through the command line prompt.
- The offsets are generated immediately without reselecting the object.
- You can now:
- Move or edit them like any other geometry.
- Assign them to layers.
- Apply additional formatting as needed.

Conclusion:
The EXOFFSET command in ACTCAD is an efficient tool to create multiple parallel copies with precise control. It streamlines repetitive drafting tasks, improves productivity, and ensures accuracy in complex designs.
Download: Click here to download
About this blog
We frequently publish blog articles about ACTCAD software in terms of new features, improvements, releases, special offers, technical articles etc. Please subscribe to our newsletter to get regular updates.


